
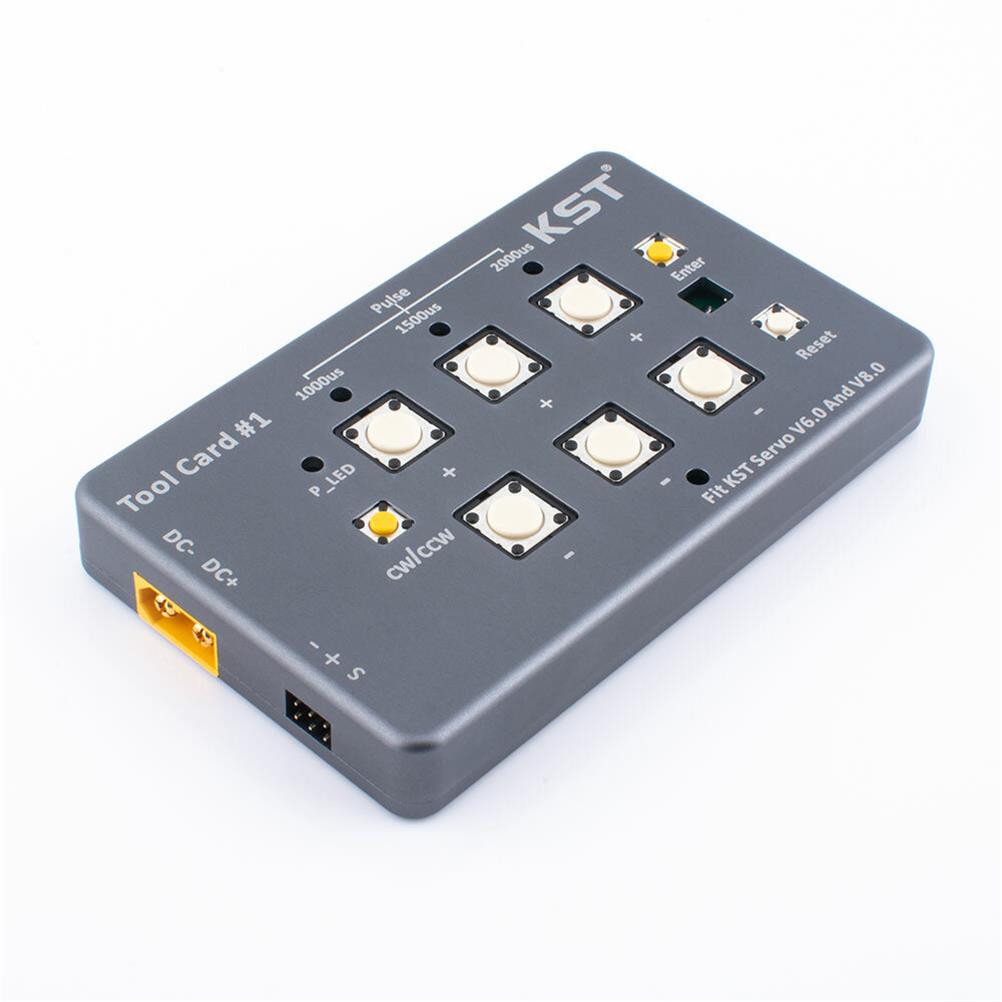


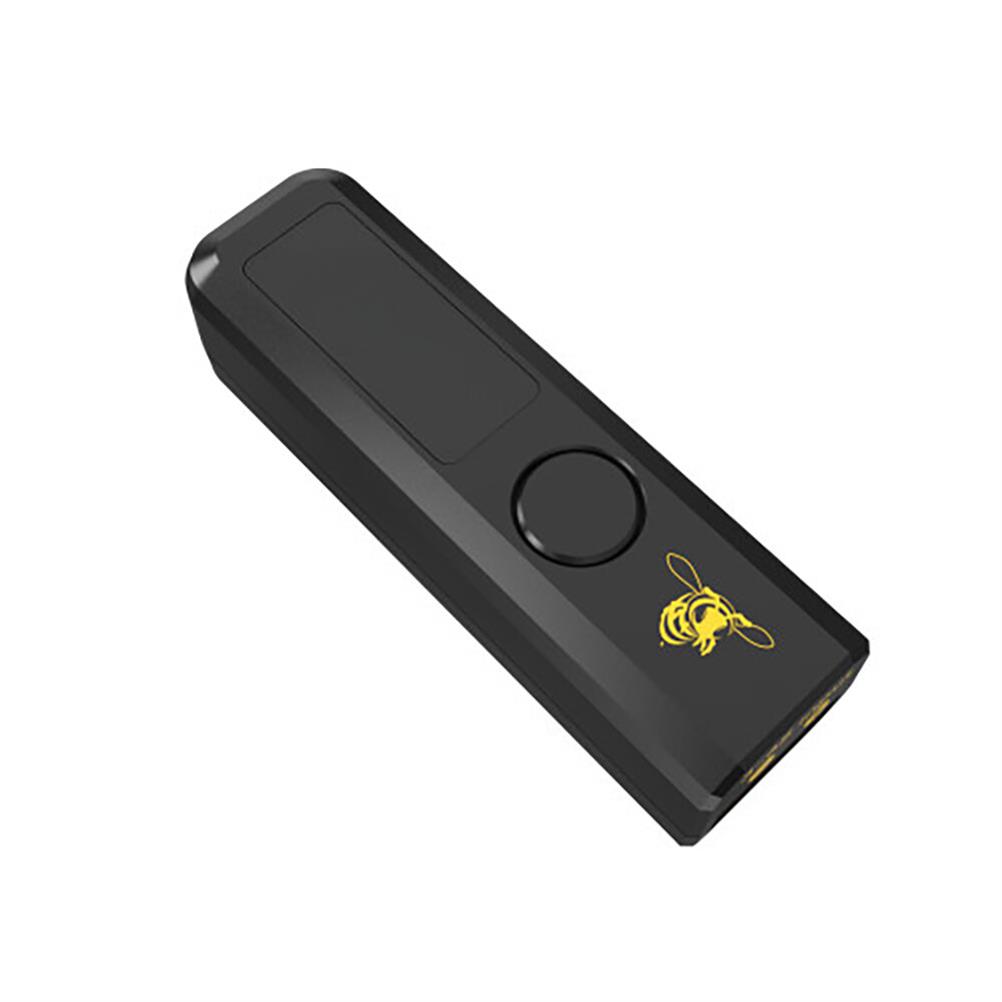
KST Servo Programming Tool Card for KST Servo V6.0 And V8.0
Specification:
1. Power input: use XT60PW socket to connect with XT60 plug on the adapter end.
1.1. Tool #1 power input range is DC5.0V-28V.
1.2. The power input needs to input different voltages according to the working voltage range of different models of KST servos. Do not input high voltage at will. In order not to cause Tool #1 and the servo to burn out, the input voltage here will be directly output to the servo terminal, pay special attention ! ! ! For example: X20-12-M 835-1 working voltage range is 9-13V, then the input voltage range of DC terminal is DC9V-13V.
2. Output interface: Connect to KST steering gear. There are two groups of interfaces in two rows, each of which can only be used in one group, and the other one is spare. When connecting the servo, press the signal mark ‘- + S’ to connect, please identify the direction before connecting, usually orange or white corresponds to the ‘S’ end.
‘-‘ DC- DC power supply negative
‘+’ DC+ DC voltage positive
‘S’ Signal PWM signal
3. Power-on and setting operation steps
3.1. Connect the power supply. After power-on, Tool#1 will enter the self-test. After the self-test is successfully completed, the buzzer will sound 2 times, and the orange power light of P_LED will always blink At this time, it enters the state of waiting to connect the servo.
3.2. Confirm the working voltage range of the steering gear, and connect the steering gear to the ‘-+S’ port after OK. After connecting the servo, the program will automatically recognize and return to the midpoint (1500us) location. At this time, the light below 1500us is always on red and enters the midpoint setting mode.
3.3. Midpoint setting: After entering the midpoint setting mode, press the ‘+’ and ‘-‘ buttons at the bottom corresponding to 1500us to set the demand midpoint value. Set up After completion, press the ‘Enter’ button on the right to confirm. After the confirmation is successful, the buzzer will sound once. Indicates that the midpoint setting is completed and enters the left and right stroke setting mode.
3.4. Left and right stroke setting: After setting the left and right stroke setting mode, press the ‘+”-‘ button corresponding to 1000us or 2000us to set the demand value. After setting, press the ‘Enter’ key on the right to confirm. After the confirmation is successful, the buzzer will sound once. Indicates that the left and right stroke set to make. At the same time, the orange power light of P_LED always flashes, indicating that all operations have been completed and Tool#1 enters the waiting state.
3.5. If you only set the midpoint position, enter the midpoint setting mode and press the confirm button twice after the setting is complete; if you only set the left and right rows After entering the midpoint setting mode, press the confirm key once to enter the left and right stroke setting mode. After the setting is completed, press the confirm key to complete the setting.
4. Use of ‘CW/CCW’ button
4.1. Explanation of terms: CW: clockwise CCW: counterclockwise.
4.2. After entering the left and right stroke setting mode, press the ‘CW/CCW’ button, there will be a reverse action after the output shaft, and then press the confirm key to confirm. Finish Set in the direction.
5. Use of Reset button The Reset button only resets the system of this Tool#1, and does not operate the steering gear system.
Package Included:
1xKST Servo Programming Tool Card


Paulette -
I have 3 of these products, and they serve their purpose.
WWk5UF -
I have 2 of these products, and they're decently made.